Soil blocking

Soil blocking has a lot of advantages, requires very little kit and is easy to do. We use it to start most of our seeds.
What is soil blocking?
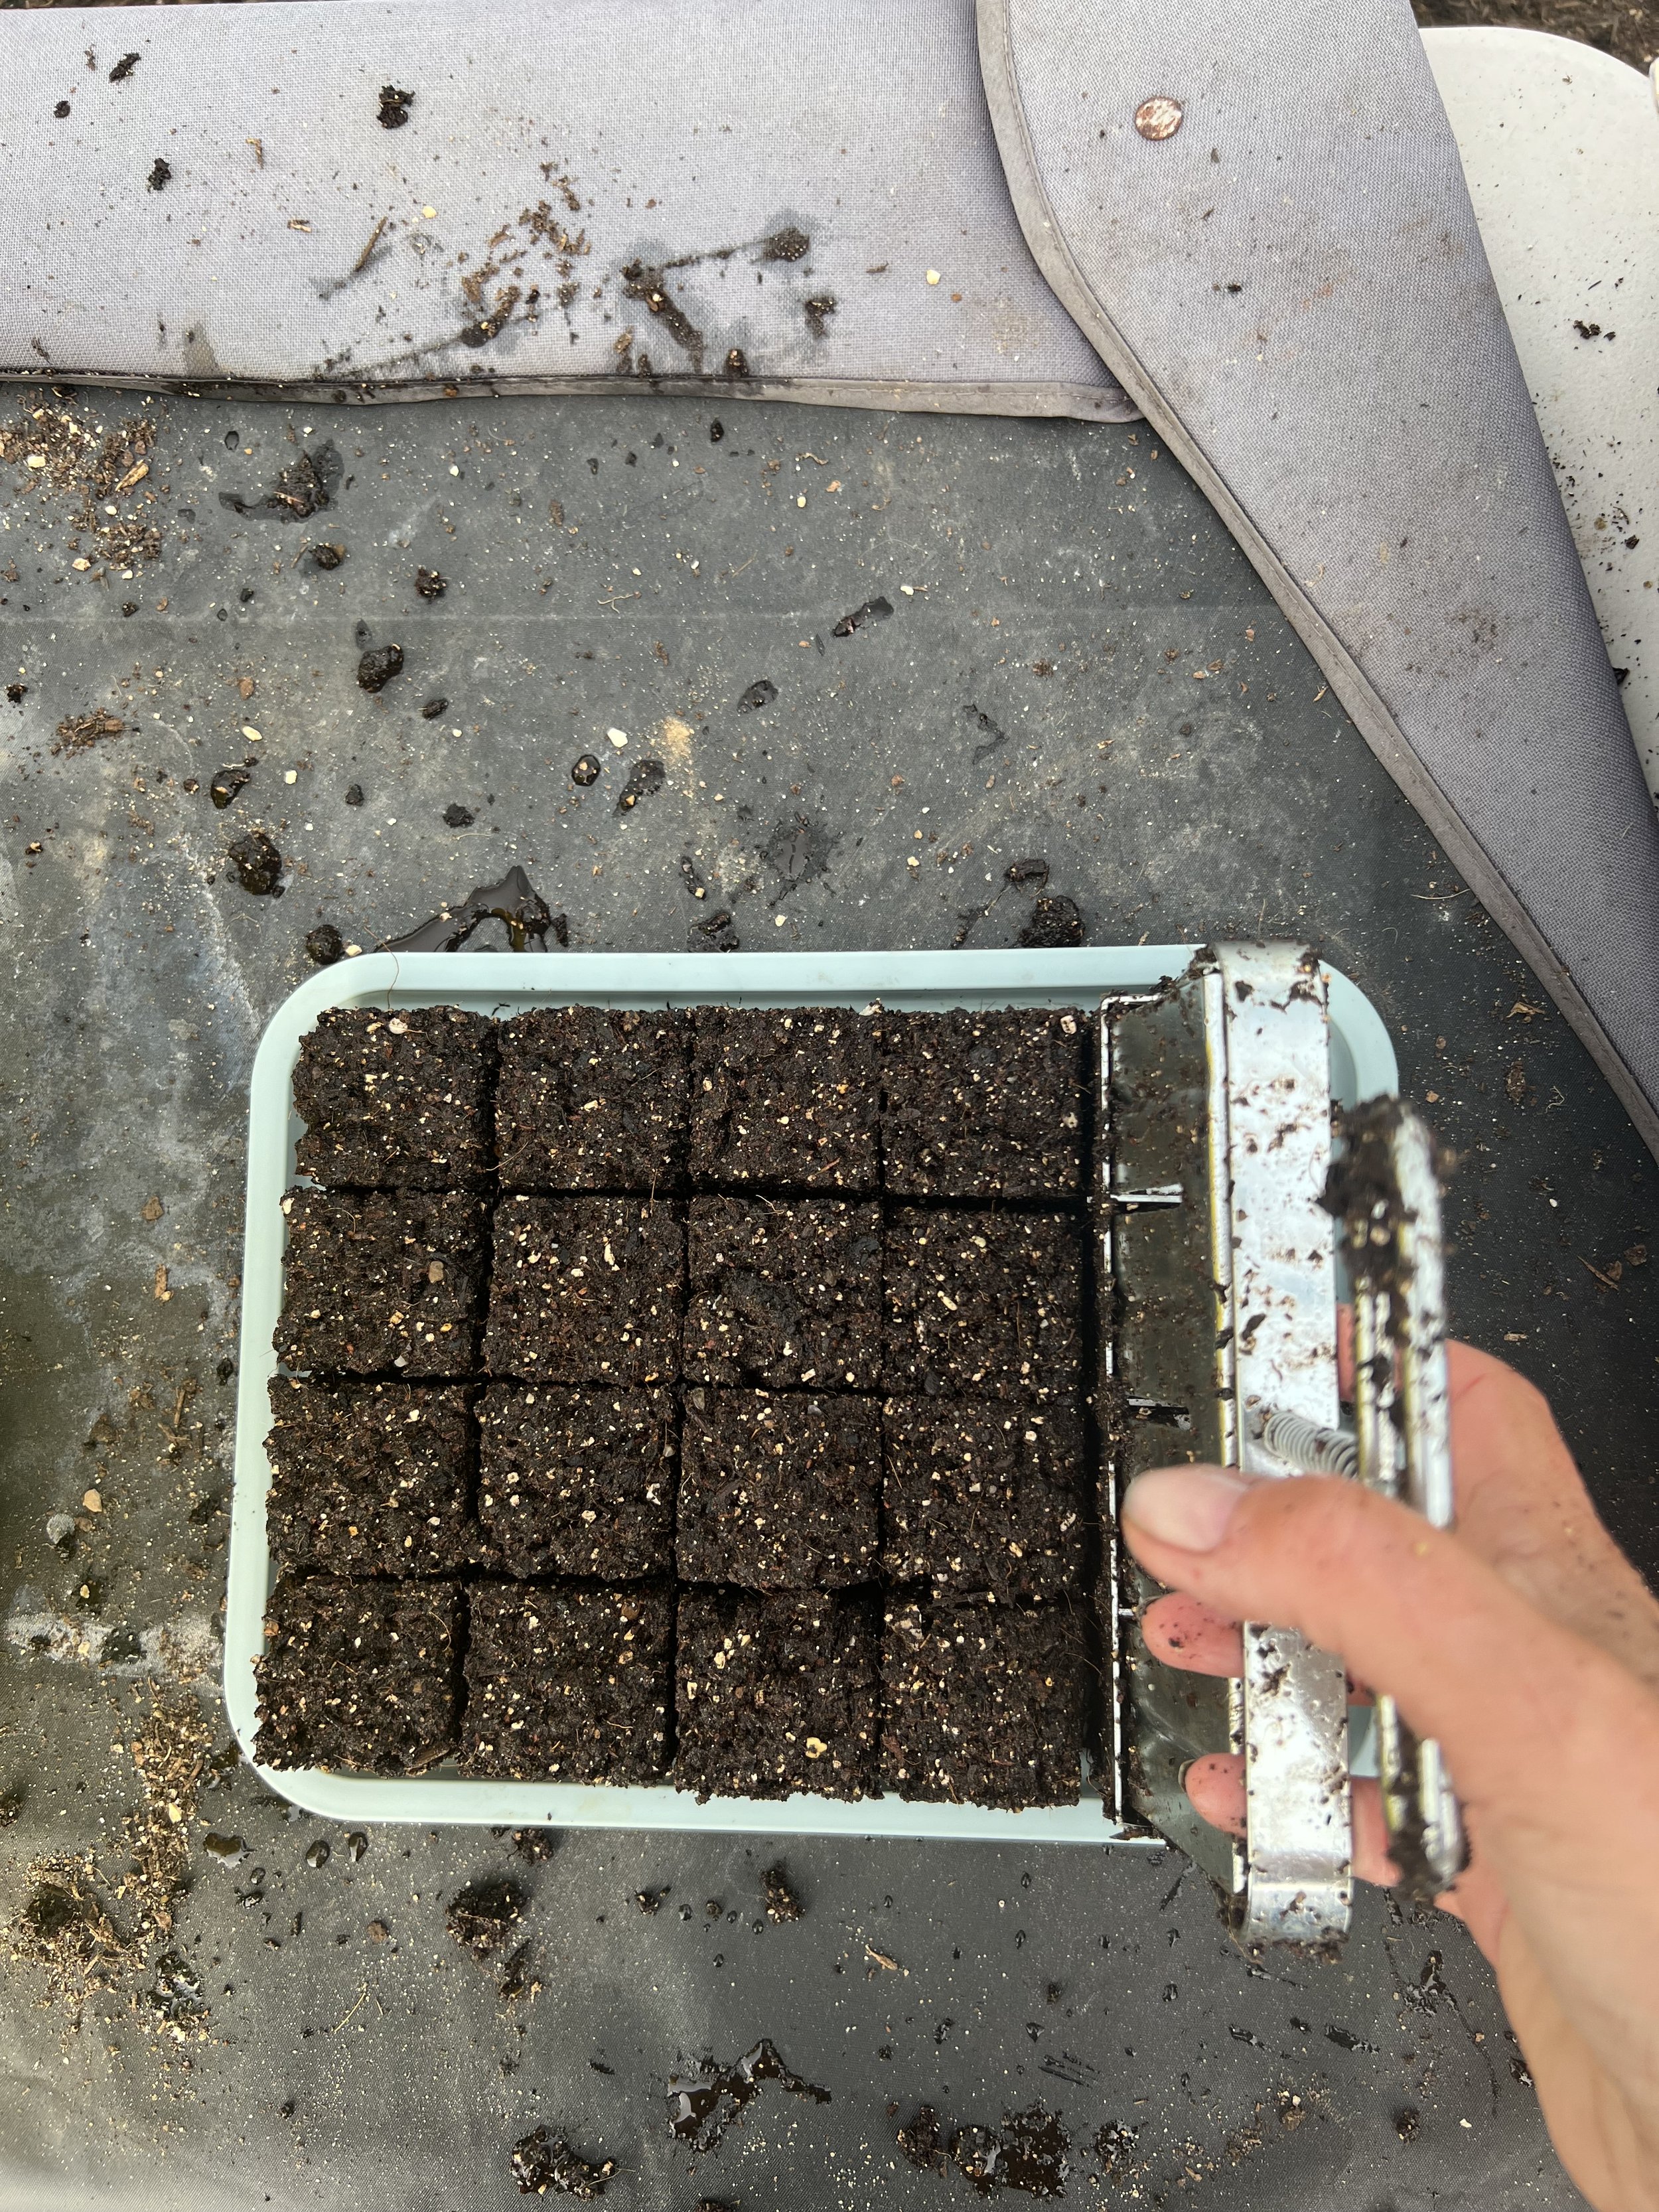
Soil blocking is where you create blocks or cubes of compost that you then sow seed into - without the need for plastic pots.
You pack your soil mix into a soil blocker, then punch the blocks out onto a tray. If you’ve got the mix right, you’ll have stand alone cubes with air spaces inbetween that act as ‘walls’.

Why soil block?
It takes a lot less room than pots – you can sow 20 seeds in a small blocker that’s just 10cm x 7.5cm.
It saves a lot of plastic – you just need a reusable tray to soil block onto.
It saves a lot of compost – if nothing sprouts, you won’t waste as much compost as you would if you had sowed in pots.
You can keep them indoors under lights, making everything easier to watch over and take care of.
It’s supposed to create stronger, healthier seedlings.
It removes some of the guesswork when planning crops as you know what is growing before you plant it out.
How do soil blocks work?
The air spaces between the blocks ‘air prune’ the roots and stop them growing from one block to another and from circling around as they can in a pot. When you transplant them, the roots are ready for outward growth so they can establish more quickly.
Where can you buy soil blockers?
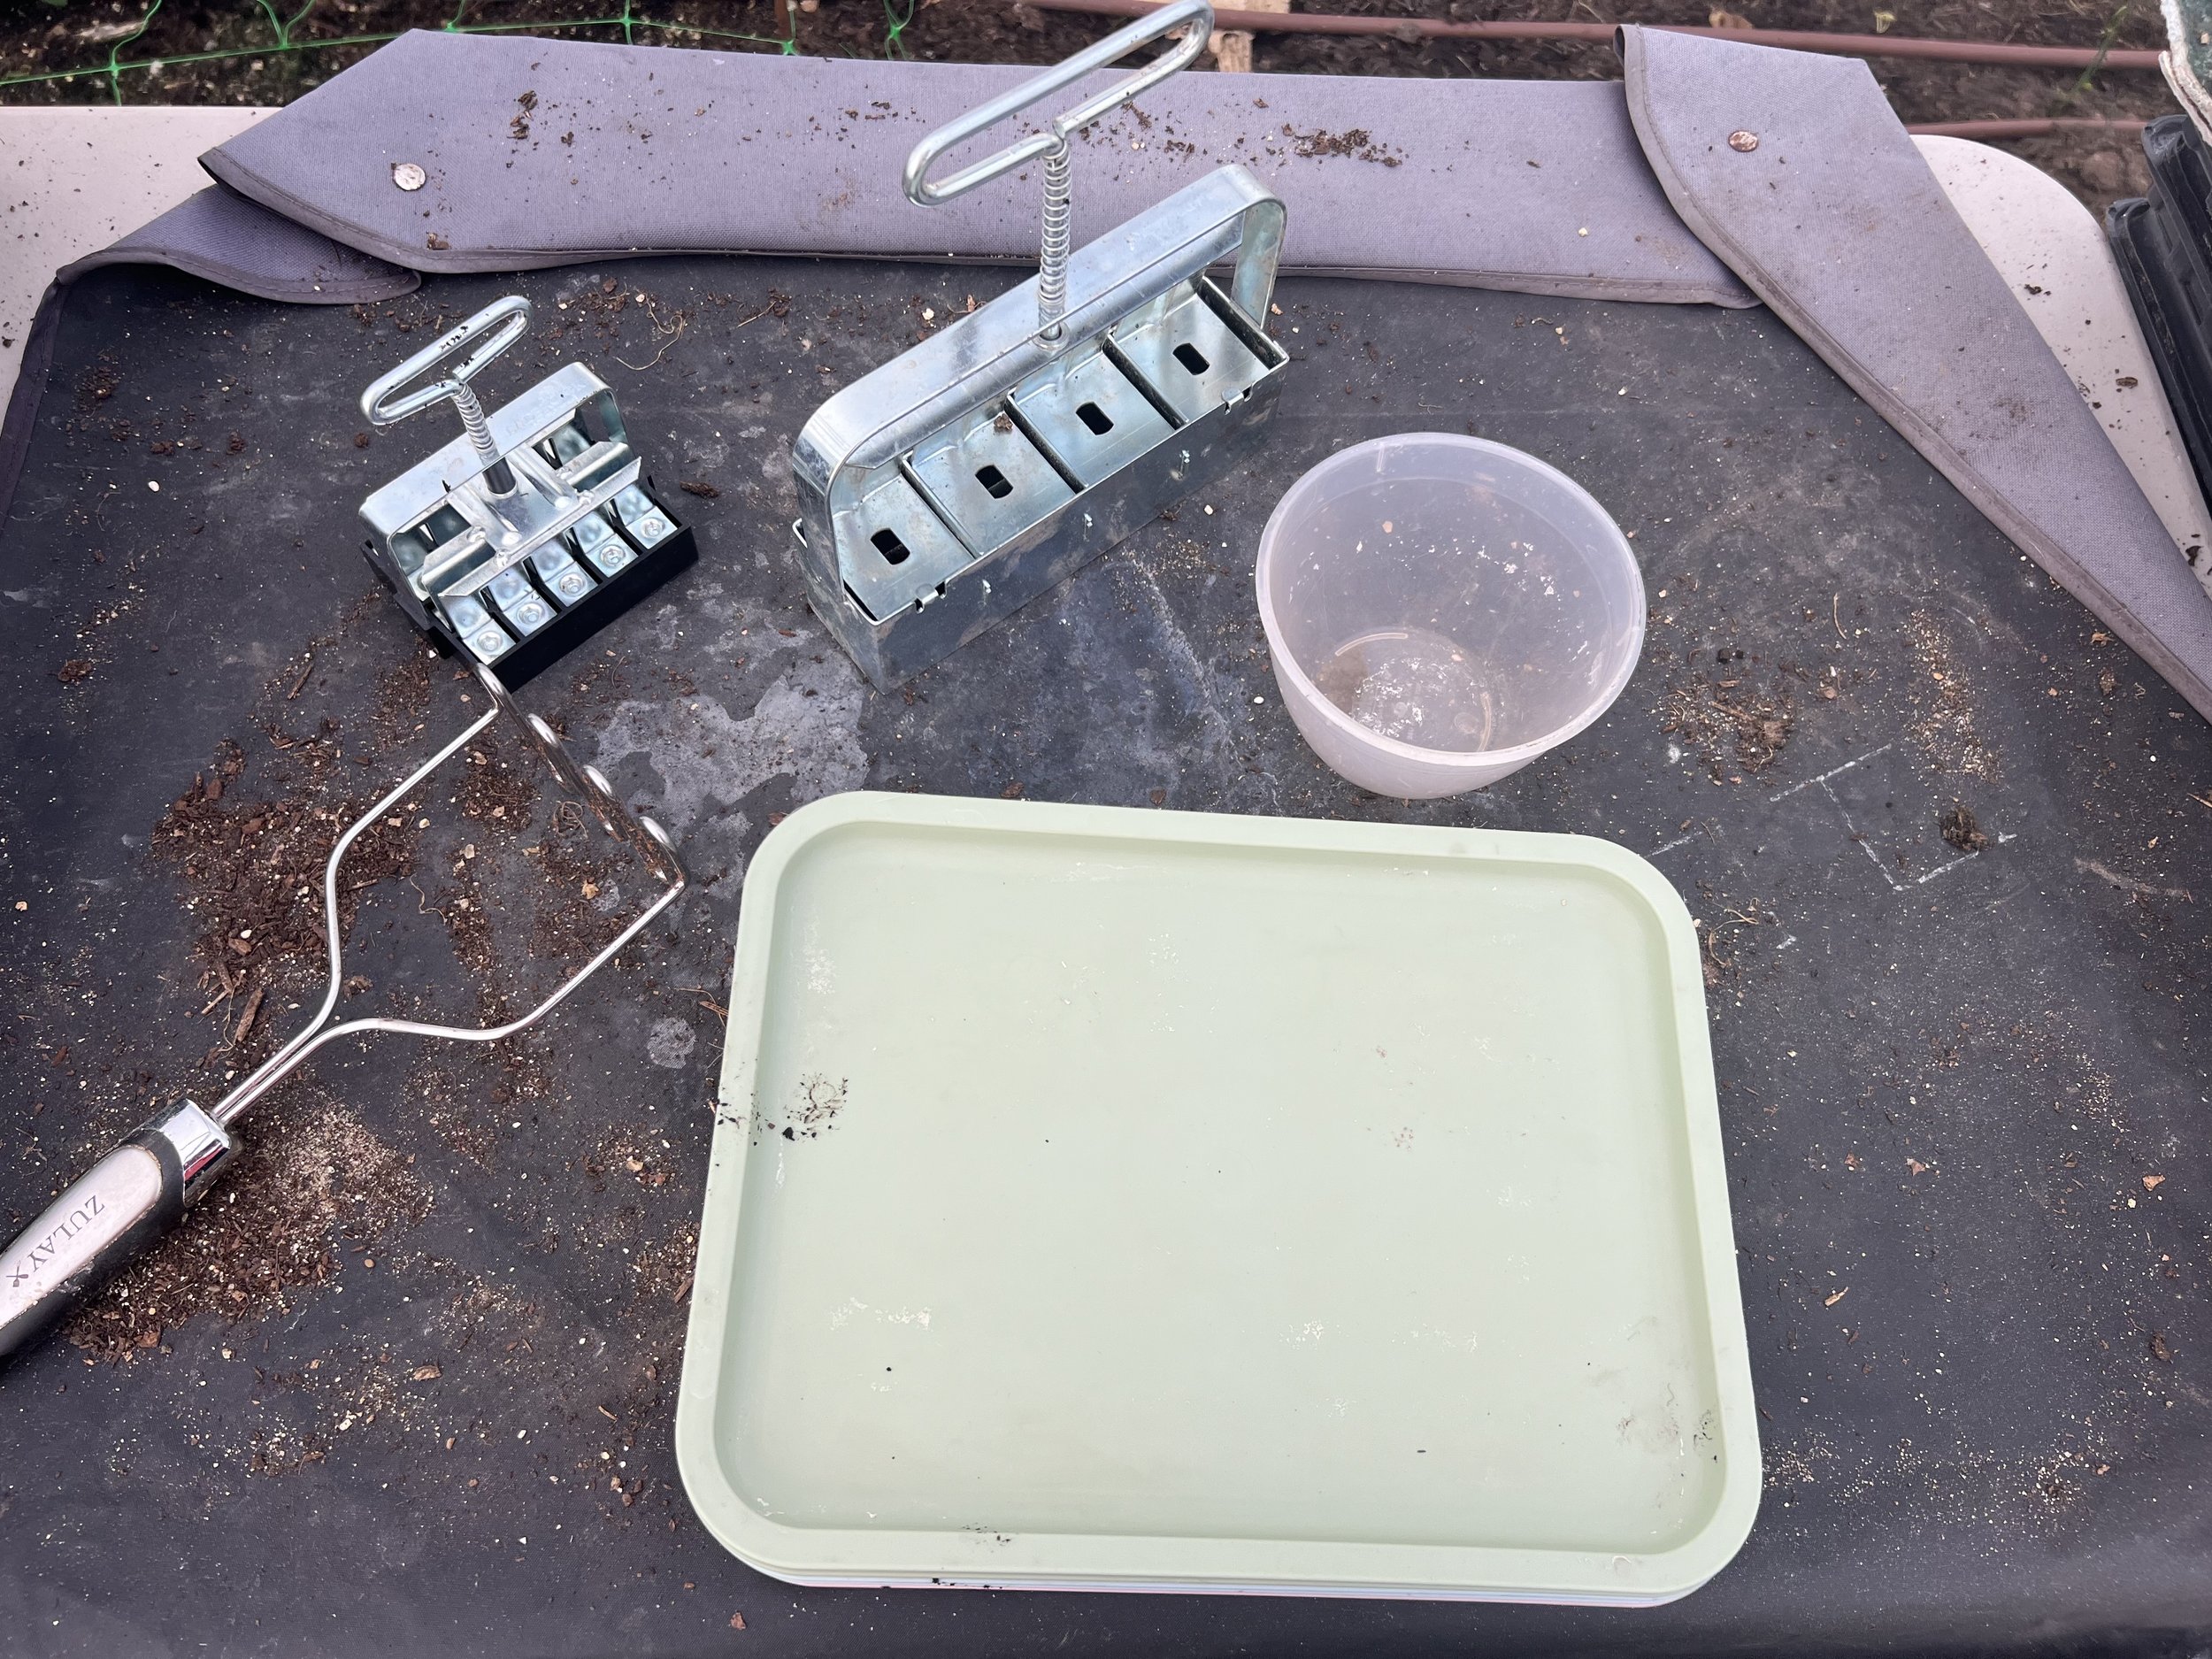
I bought my soil blockers from Ladbrooke.
I only have two soil blockers. Most seeds can be grown in the Micro 20. Any seeds that are the size of half a pea or more, sweet peas for example, I put in the Mini 4.
A starter kit with 1 Micro 20 1 a mini 4, dowel pins and cube inserts currently costs £53.75, a little less than if you bought everything separately.
What else will you need?
Trays
You’ll need some flat trays to put the blocks on. For watering it’s best if these are smooth without grooves.
Unless you’re sowing loads of one variety, you don’t want them too big as labelling gets difficult and they can grow at different rates. It’s better to have smaller trays of each variety.
I have some small canteen trays and also reuse plastic takeaway boxes and the trays that meat comes in from the supermarkets.
Shelving to put them on
Metal shelving works well. It’s relatively cheap to buy, easy to assemble and flexible to fit your space. It’s also easy to fix grow lights too.
Grow lights
There are a vast array of grow lights out there. Some people seem to have a lot of success with the long fluorescent light tubes and there are lots of purpose built grow lights.
They’re going to be on for 16 hours a day, so we felt we needed something safe and cheap to run. So we bought a Spider Farmer LED light.
Misc
A big tray or tub that you can mix up your blocking mix in. The plastic garden tubs with handles work well.
A potato masher is great for mixing everything together.
Yellow sticky gnat traps to control fungus gnats.
A water spritzer.
A mini watering can.
Propagator lids that fit over your trays.
Soil block mix recipes
One of the first advocates of soil blocking was Elliott Coleman in his book ‘The new organic grower’ and you can find his soil blocking recipe in various places online.
Another soil blocking guru is Lisa Mason Ziegler and her recipe is here. She uses greensand fertiliser which seems to be a struggle to get in the UK.
Then Ladbrook who make the blockers have grandpa’s recipe.
Some people add cinnamon as they believe it prevents fungus gnats.
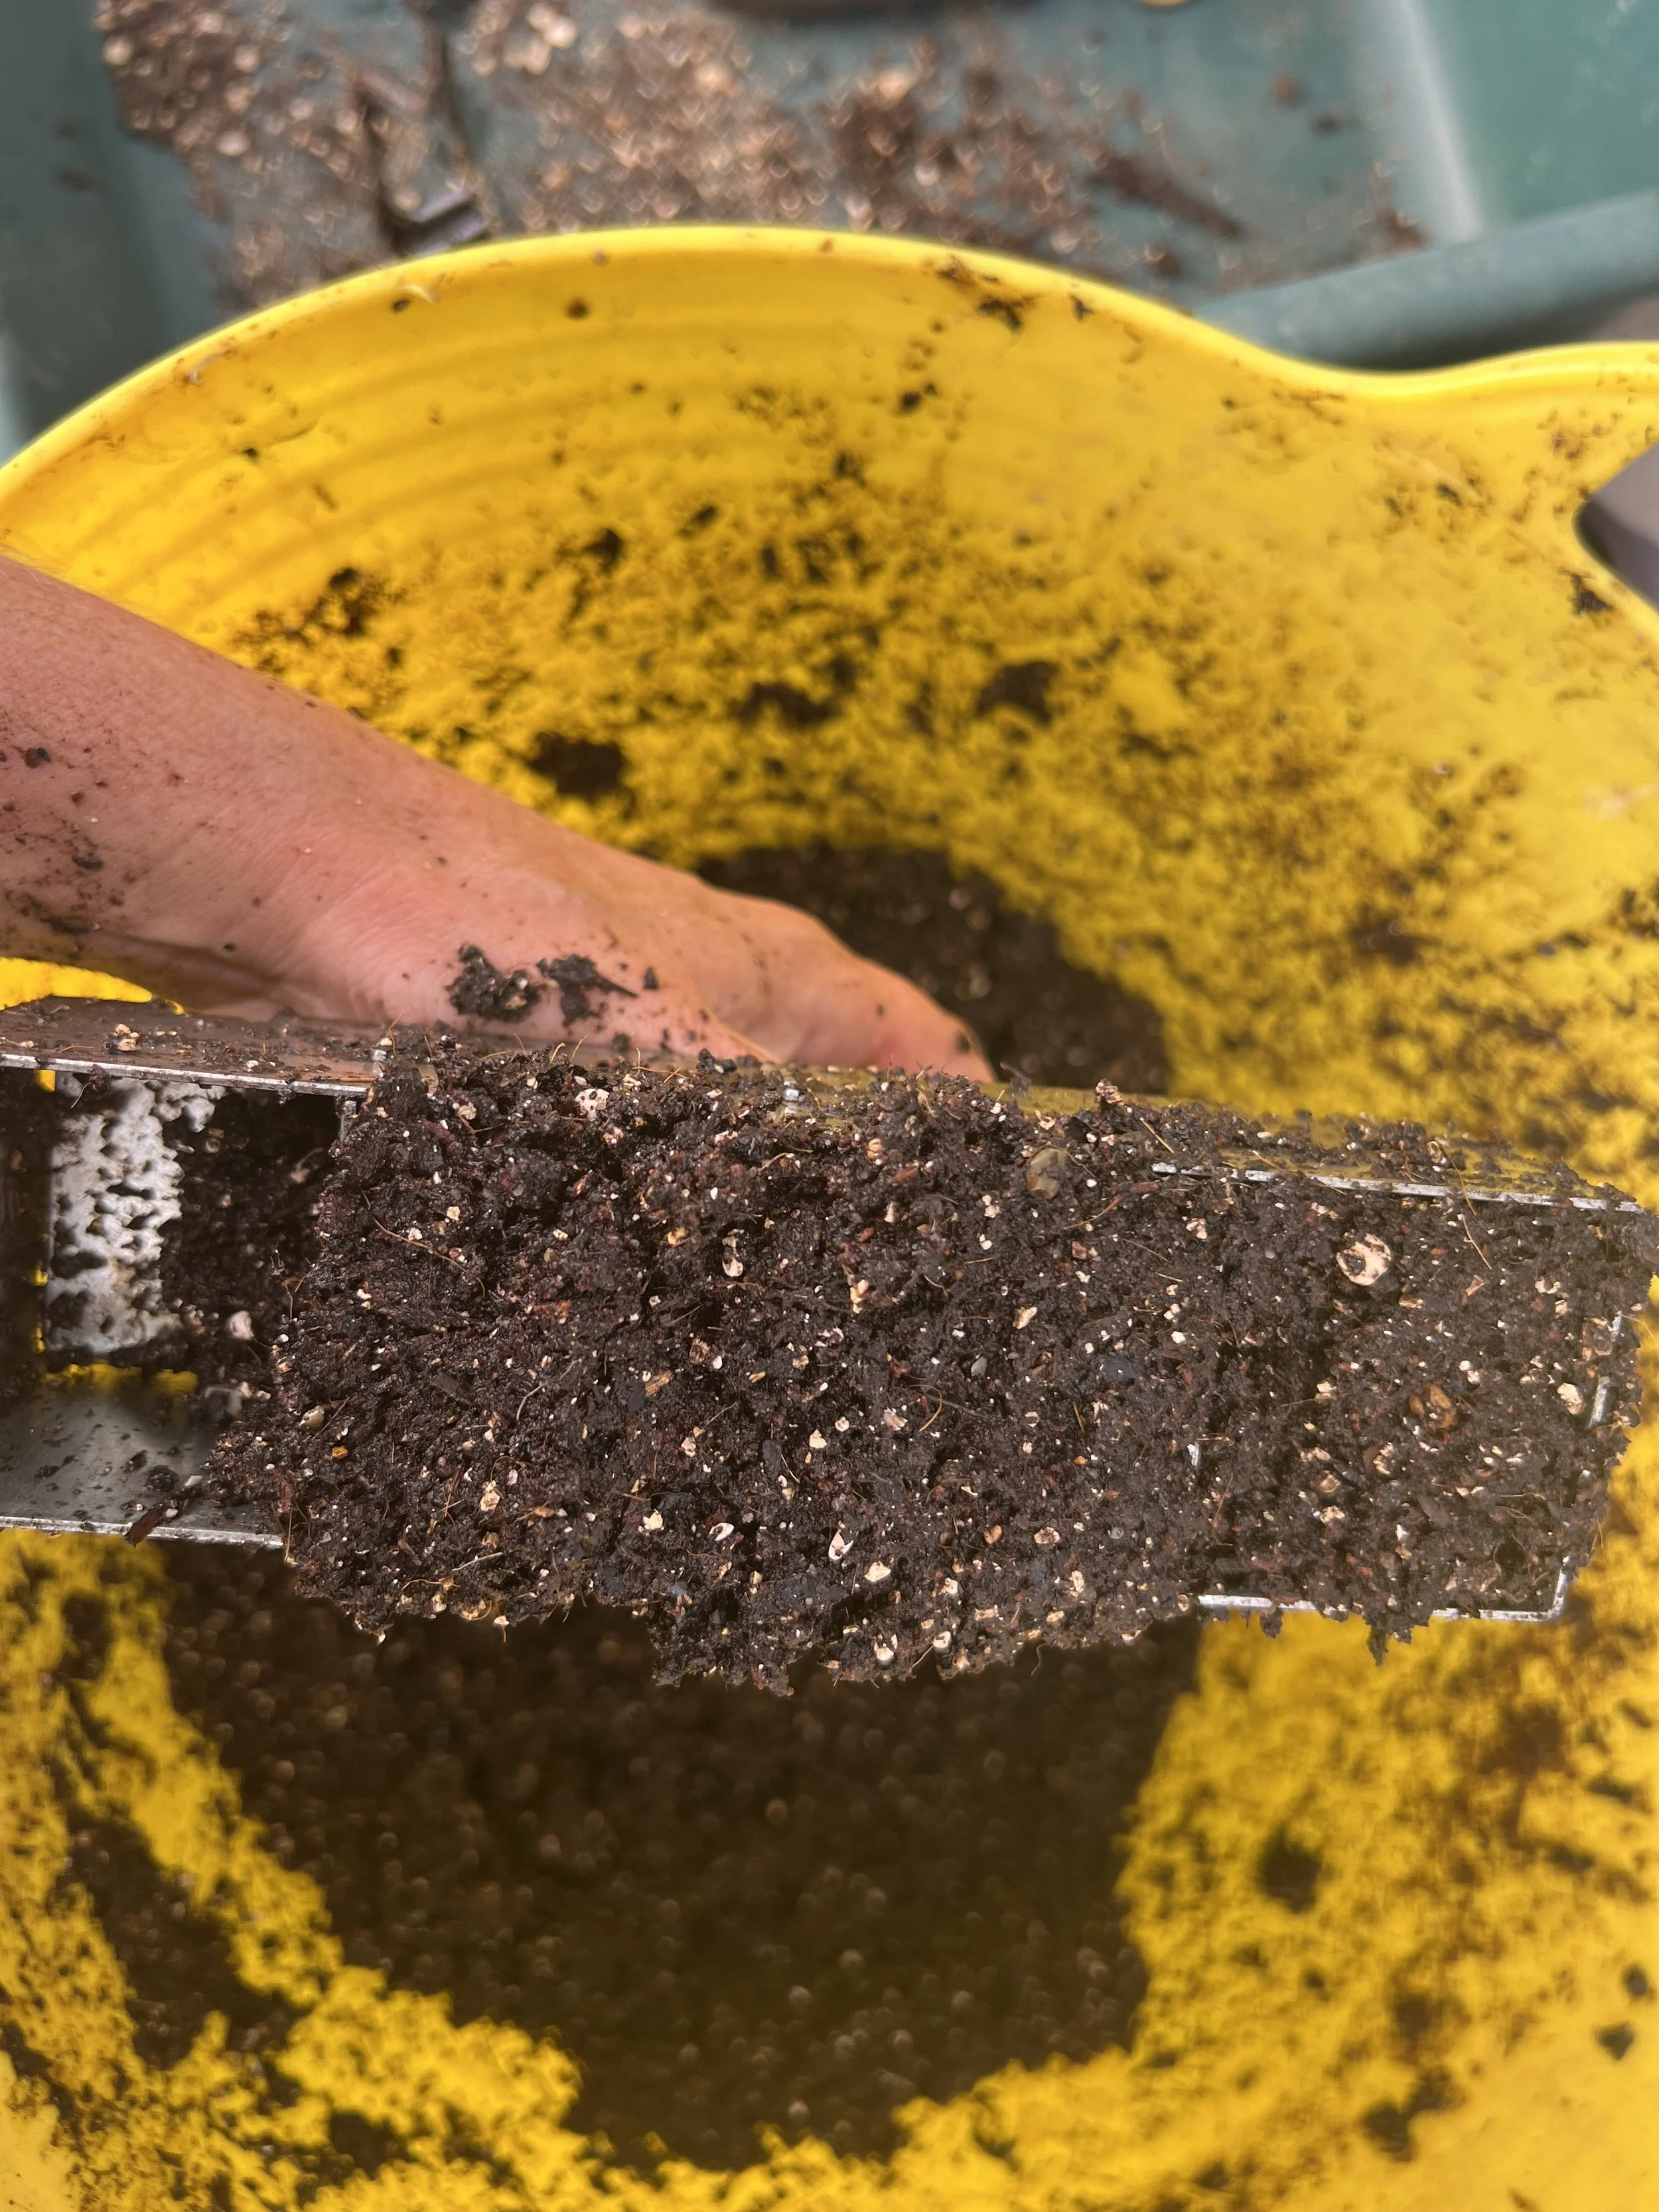
There are in fact, hundreds of recipes out there. What works for me is as follows:
4 x fine or sieved peat-free multi purpose compost (if compost is already pretty fine, I skip the sieving)
2 x coconut coir
1 x horticultural grit
1 x fine vermiculite or perlite
Mix all that with about 4 x water. It should be sticking together but not sopping wet.
I find the compost that you start with makes a huge amount of difference. Some are too coarse and hard to sieve. Some are full of fungus gnats. And some seem to get a green, mossy layer on top.
How to make soil blocks?
There are a lot of videos online that show you how to make soil blocks. Basically you create your soil mix in a big tray or tub, then press the blocker into it until all the blocks are full. Then you press them out onto a tray.
I actually find it’s easier to scoop the mix up with my hands and press it into the blocks. Just don’t press it in too hard or you’ll squeeze all the air out.
How to sow seeds
The soil blocks have a small indentation for the seed.
If you’re sowing seeds onto the surface, drop a seed onto each block and press down lightly so it makes contact with the soil. For small seeds I use a toothpick for this. Spritz the surface with a spray mister to activate the seed.
If the seeds need covering, sprinkle on some soil or vermiculite.
If seeds need to be deeper you’ll need to attach the dowel before you make the blocks to get a deeper indentation. Or use a pencil to make a small indent in the block without breaking it apart.
How to take care of the blocks
Water your blocks daily from the bottom. I fail at this, frequently water from the top, and find I wash my seeds into the gaps between the blocks.
Once a week, add organic liquid fertiliser.
When to pot up or plant out from soil blocks
This is where I went wrong at first – I kept plants in the blocks for far too long. You really want to transplant them as soon as you see roots. Left too long, the roots will make it to the next block and/or run out of soil and nutrients For most seeds this will be two to four weeks.
If you start seeds off in the small blocker, you can create bigger blocks with the larger blocker and cube inserts, and just drop them in, or just pop them into a bigger pot.
Depending on the weather and the plant, I transplant most small blocks straight into the beds.
Bulb to Bunch | Beautiful, locally-grown flowers and foliage, available as bouquets, in buckets and wholesale, plus gifts and more
www.bulbtobunch.com