Using drip irrigation

We try to farm as sustainably as we can, so are investigating how to capture rain water and use drip irrigation across the farm. There’s a lot to consider.
Water source
You can, of course, connect your irrigation system to the mains water supply. But you have to have mains water connected and, if it’s metered, you’ll have to pay for all the water you use.
The alternative is to collect and store rainwater in tanks – either big, plastic IBC (intermediate bulk container) tanks, elevated to create water pressure, or below ground tanks with a pump to get the water out.

We got two 1,000 litre IBC tanks second-hand for £70 and put them on the roof of our container. There are lots of IBCs available; you just need to make sure they haven’t had nasty chemicals in. Food grade is ideal. These then need covers to block sunlight and stop algae build up, and the caps need venting so they don’t expand and blow out in the sun.
Enough pressure
The big question is then: will they give enough water pressure - and store enough water – for us to irrigate five new 25m x 1m beds?
Unfortunately, there’s no simple answer - that I could find anyway.
I read a load of stuff, emailed pertinent questions to various irrigation companies, watched numerous YouTube videos, and I still couldn’t find an easy explanation for how much of your field you can water using irrigation.
It depends on so many variables. The area you want to cover, the volume of water the plants need, the amount of irrigation tape you’re using, the emitter spacing, and your water pressure. If you’ve got strong water pressure and a relatively small area, you’re probably going to be fine. But low water pressure may not cut it. Ultimately, we decided the only way to understand what is possible, is to trial it.
Supply pipe to connect water source to drip irrigation
You then need a supply pipe to connect your water source to your irrigation system.

We wanted to bury ours in a trench so we wouldn’t run over it with the tractor, so used the blue 20mm MDPE pipe, designed for use underground.
Nothing is ever as simple as you think. Our land has a layer of soil about 15cm deep, then what feels like a solid, concrete slab. It’s actually a layer of flinty stones. We had to pull all these out so ensure they don’t puncture a pipe later on.
Then we found the roots from our row of lime trees stretch further than we thought and into out trench. They’re too big to cut off, so Roger had to dig even deeper to get under them.

Irrigation system
While Roger was digging a trench, I was putting the irrigation system together. Irrigation feels like a dark art, but I’ve think I’ve mastered the different bits now and how best to combine them together.
We have irrigation tape – three rows for each bed.
We’re using T tape TSX 510 which is apparently ideal for heavy or rocky soils and/or when the tape is being moved or reused for multiple seasons which we will definitely do. Slit outlets along the tape open when the system is pressurised and close when the water is turned off, preventing dirt or roots getting in.
You can get tape with emitters every 30 or 40cm – we’ve gone for every 30cm.
Netafilm streamline tape was another option, just slightly more expensive. We’ve also used Duragarden pressure compensated drip line elsewhere which is more rigid and durable like a pipe, so better if you plan to leave it out all year around.
You need to close off one end of each tape run. To do this, we just folded over the end tape over and slid it inside another short bit of t-tape.

The other end of each run of tape is joined to a T tape connector.
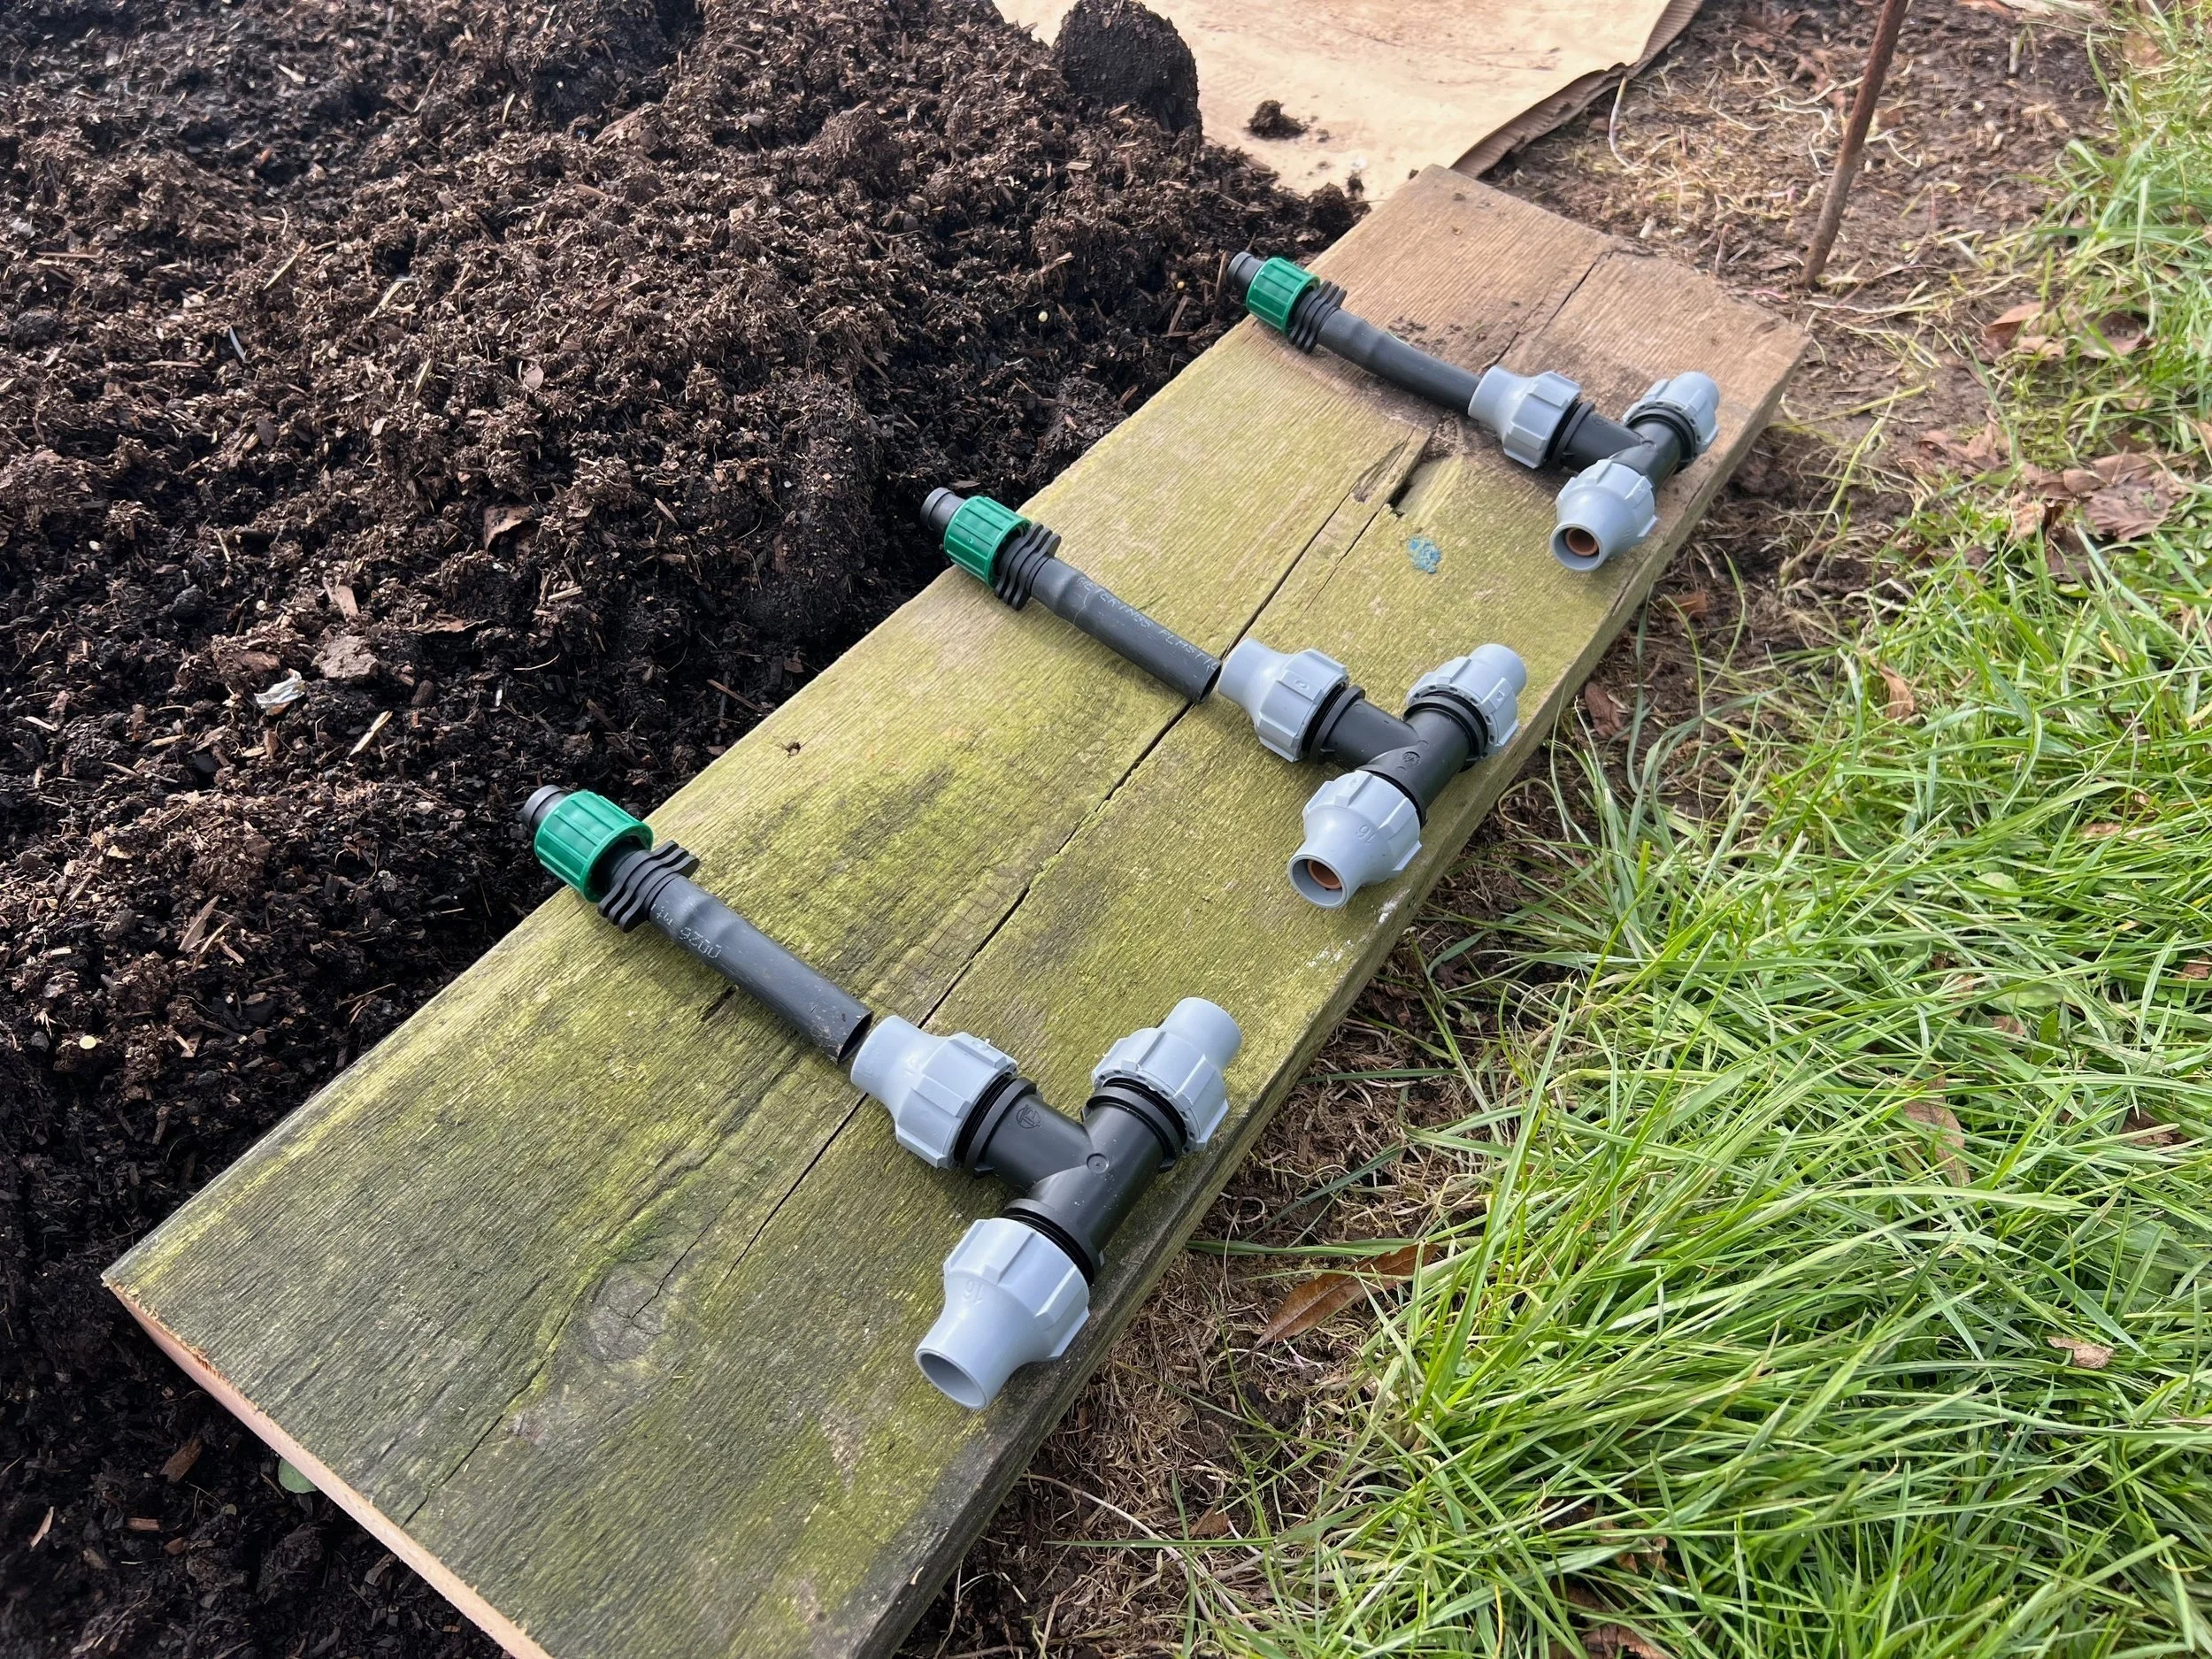
Because the other end of this connector isn’t barbed, it can’t fit directly into the supply pipe. You have to insert it into a short bit of supply pipe and join that to a T-shaped connector itting.

We then join the three T-shaped connectors with supply pipe. This time, some 20mm MDPE black pipe we had.
Two elbow joints take the supply pipe down the side from one bed, underground, and then up through another two elbow joints that join it to the next bed.
These then connect to the supply pipe from the IBCs.
It’s actually pretty straightforward when you have all the pieces in front of you.
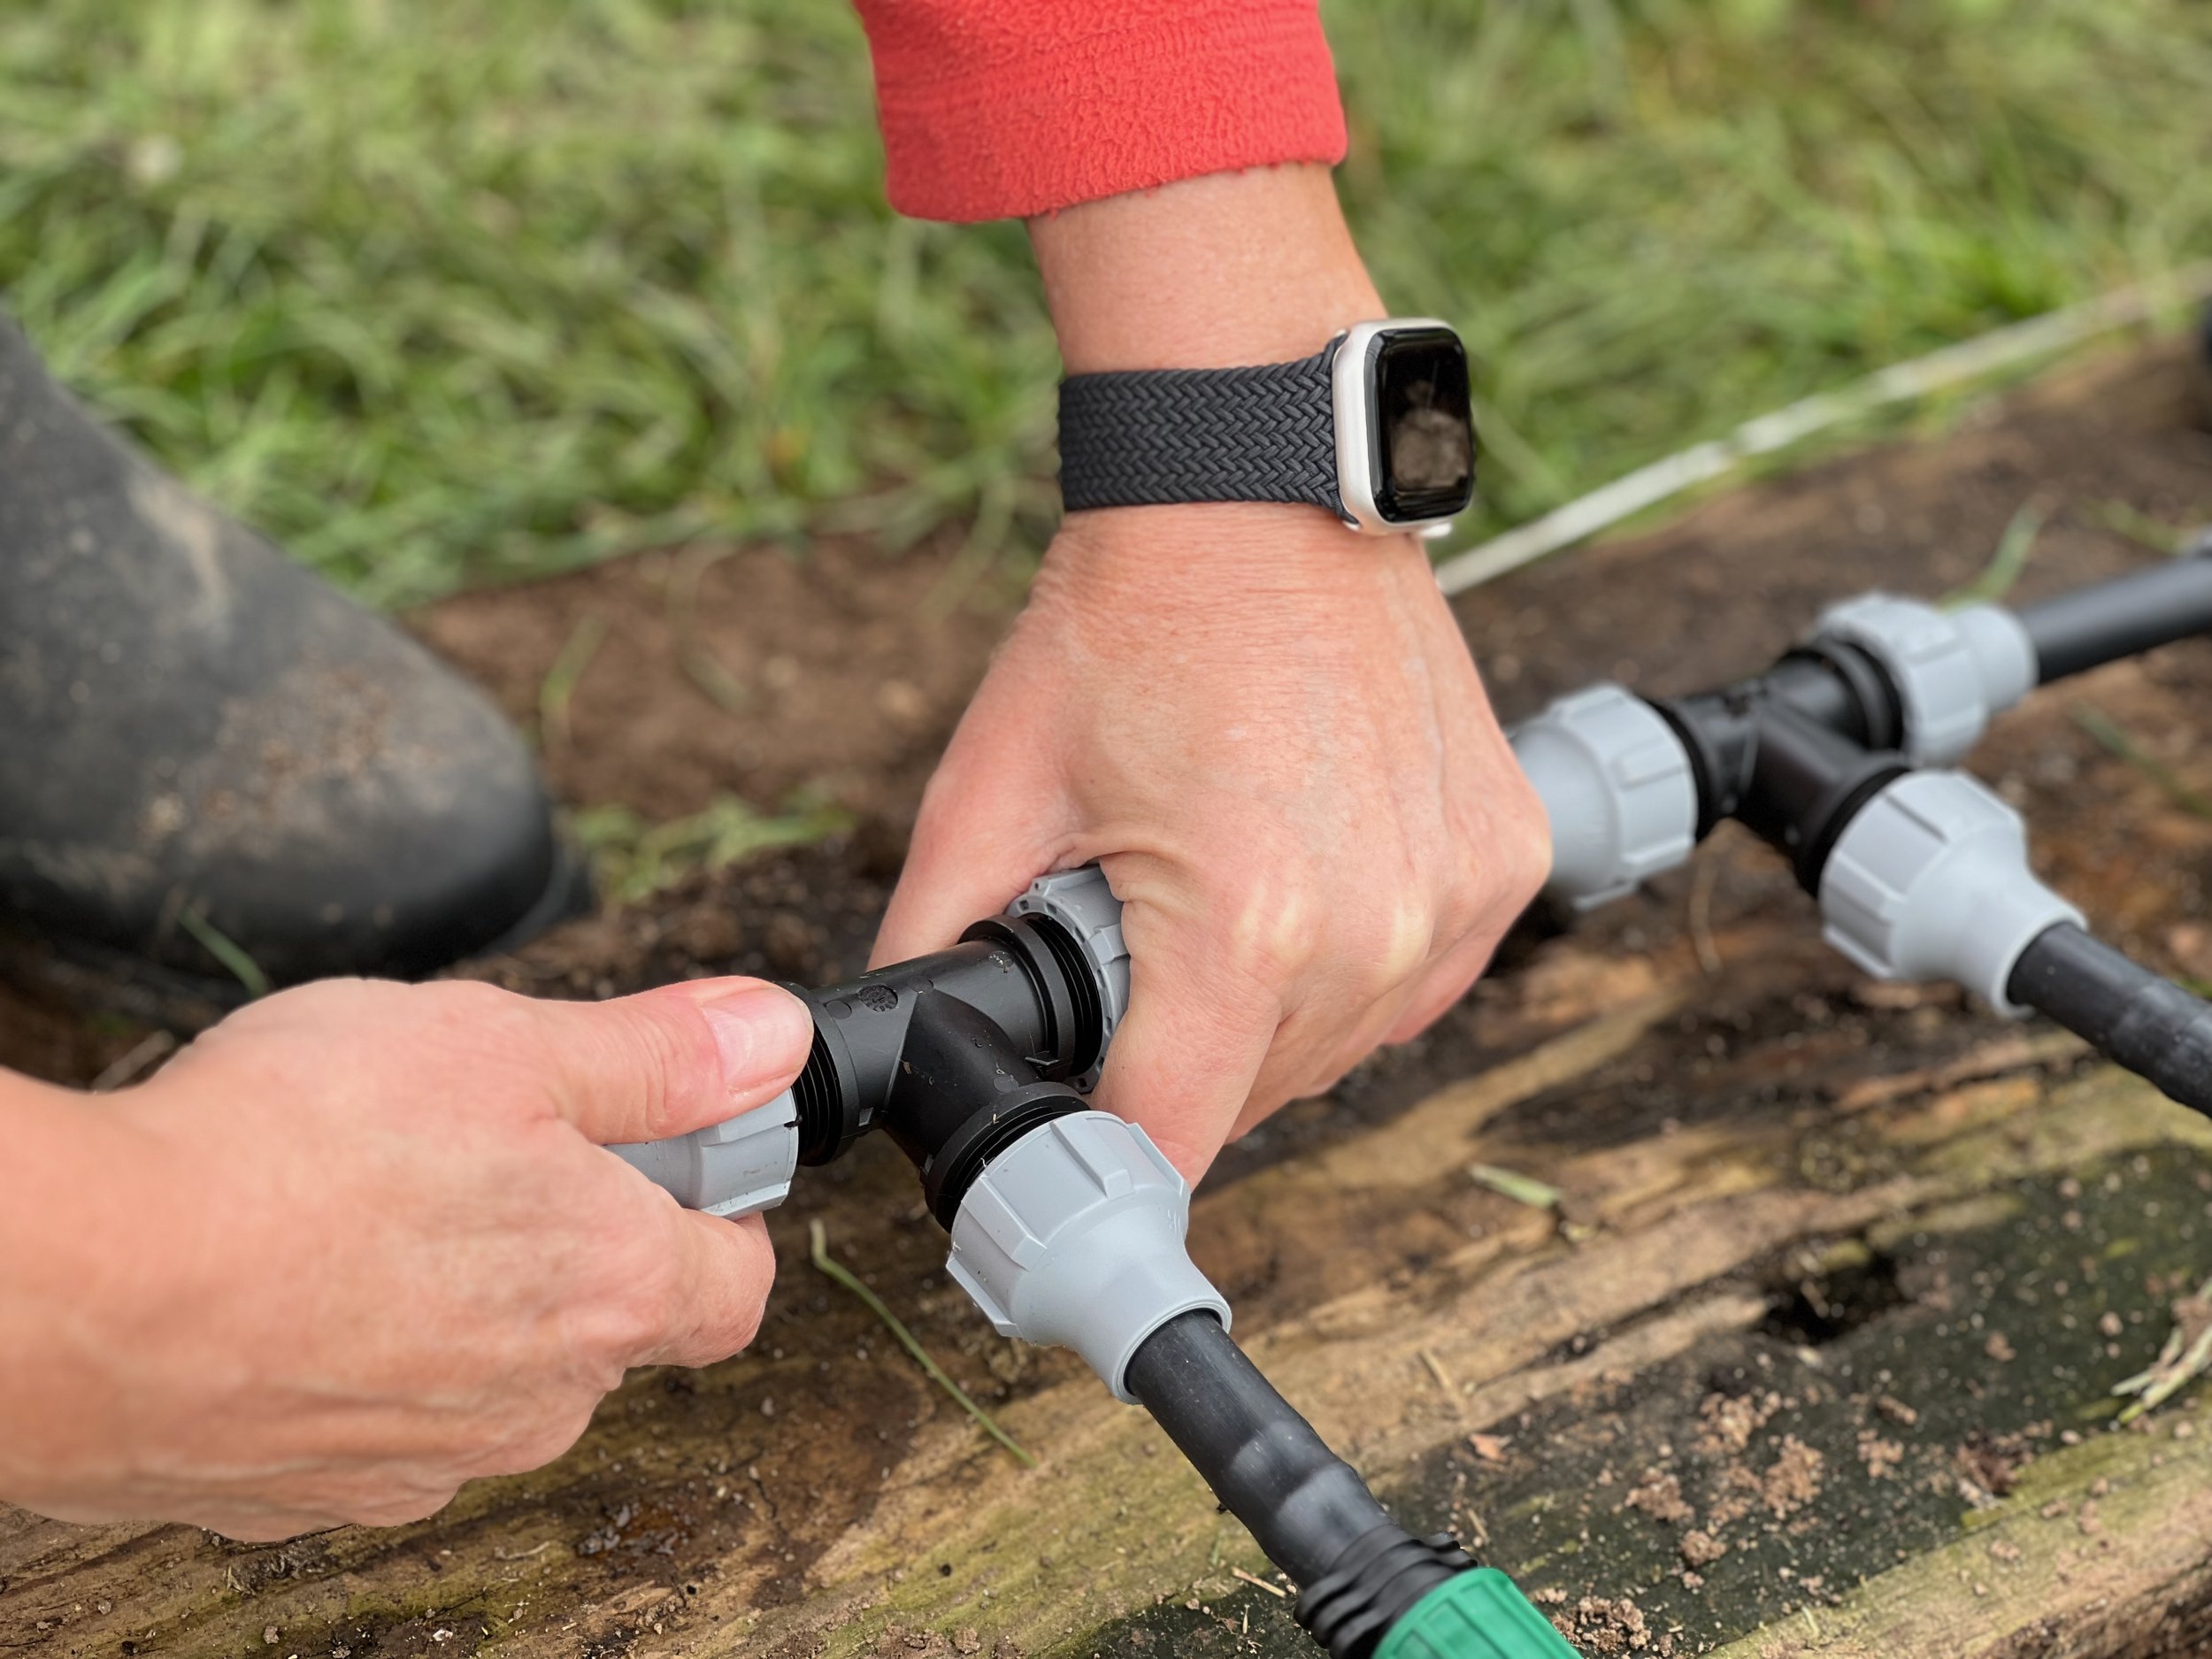
We used threaded connectors that you screw up to tighten, rather than the barbed connectors, you just push in. They’re a bit more expensive but easier to attach and more robust.
My top tip is have a thermos cup full of boiling water handy. Stick any pipe you want to attach in that for 10 seconds, and it’s a whole lot easier to slide on.

Timer
We’ve used a battery-operated Orbit dual outlet digital timer – about £60 - to run the system. Nothing fancy but it does the job. You have two outlets, and for each one can choose, start time, duration and frequency.
Rainwater collection system
The first test using mains water was a tense moment but a success. Water got right through the system, with no leaks.
We’re still not sure the IBC tanks will give enough for the five new beds though. We’ll test that next. Plan B is to add a pump.
Our next job is to work out how to collect enough rainwater and feed it into the tanks. More research required for that too.
Bulb to Bunch | Beautiful, locally-grown flowers and foliage, available as bouquets, in buckets and wholesale, plus gifts and more
www.bulbtobunch.com